
Landing pages
These pages are specially designed to help convert as many visitors as possible into email subscribers. Unlike other pages on your site, landing pages have all header and footer menu links stripped away (so visitors don’t get distracted and click away) and are presented full-screen.
We’d highly recommend editing the landing page template we’ve given you rather than starting from scratch – as the template pages have all the fiddly bits configured for you already.
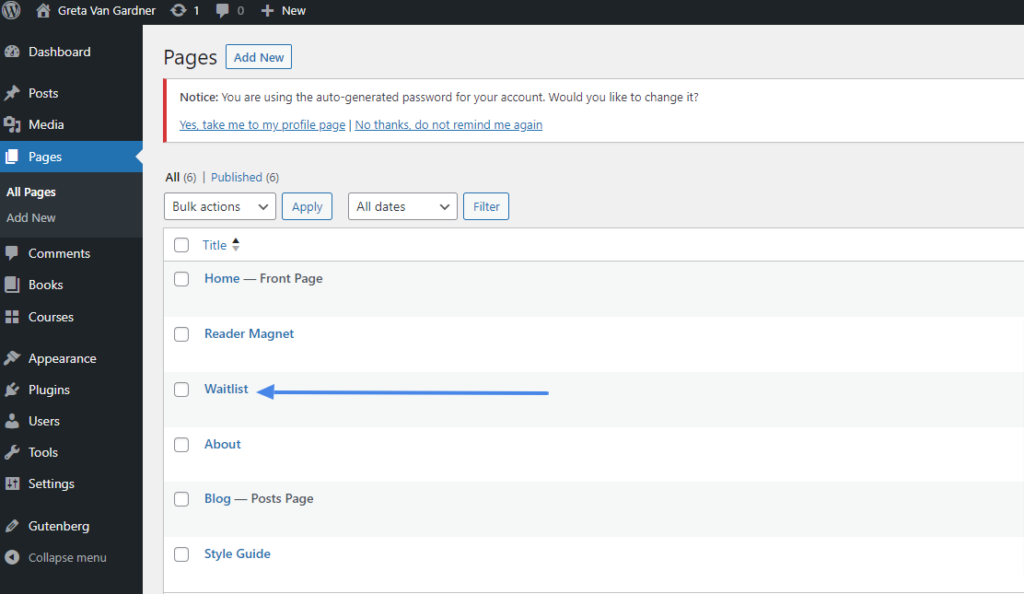
To do this, navigate to the “Pages” menu on the left-hand side and click on the “edit” button next to the landing page template we’ve given you.
Then, switch out the images and copy as needed. And your page is ready! All you need to do now is configure your email marketing provider to accept signups.
Before we get to that, here’s what to check for if you’re NOT using the Landing Page template and starting from scratch – as there are some fiddly bits that need configuring.
Landing pages from scratch.
If you’d prefer to create a page from scratch, there are a few extra steps. Once you’ve added your content and buttons, make sure you’re happy with how everything looks.

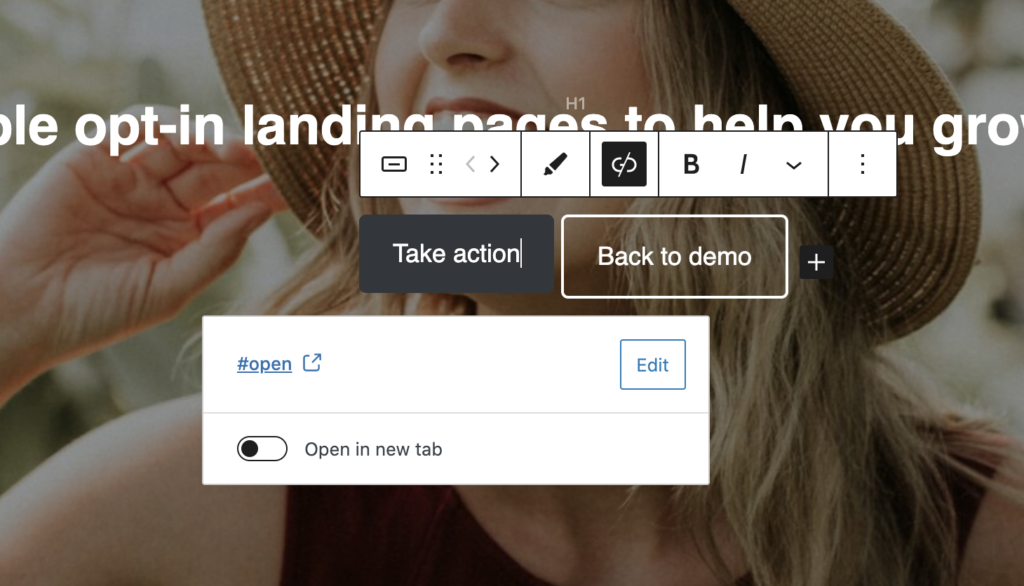
Then, make sure the pop-up button you want to use is set to “#open” so that an email form appears (this should already be configured for you in the template). So if you add a new button and want it to display a signup form, make sure you configure this.
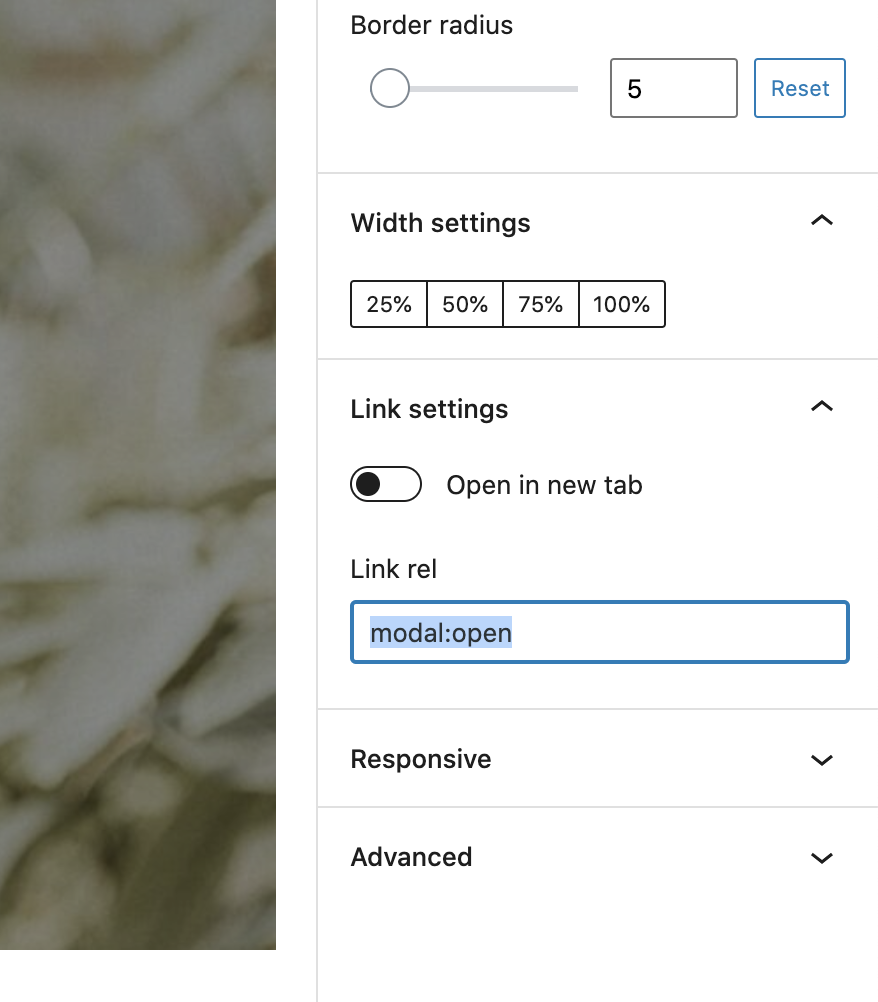
Next, make sure in the “link rel” box in the settings panel, this button is set to “modal:open”. This tells the button to open the signup form as a pop-up.
Again, this is already configured for you if you’re editing the landing page template, but if you’re starting from scratch you’ll need to add this manually.
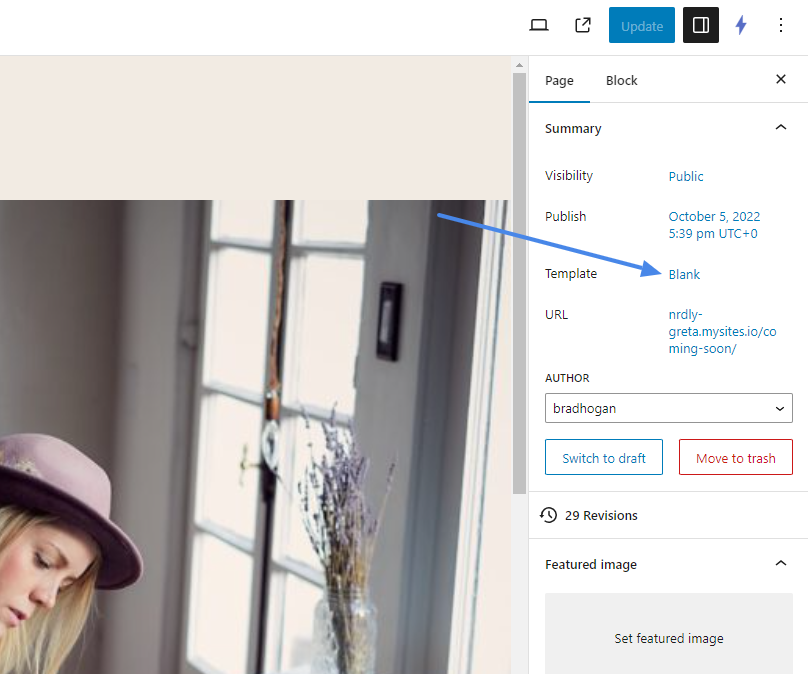
To make sure the landing page displays correctly, ensure that the “Blank” template is selected in the “Template” menu in the right-hand settings panel:
And finally, to make sure your image is full-screen (with no empty scrolling at the top or the bottom) you’ll need to add some CSS code to the hero block.
Click on the “block” tab in the right-hand settings toolbar and make sure you have your “hero” block (the big image) selected.
Then enter the following into the Additional CSS Class(es) box, pressing “enter” after each one:
- hero
- mt-0
- mb-0
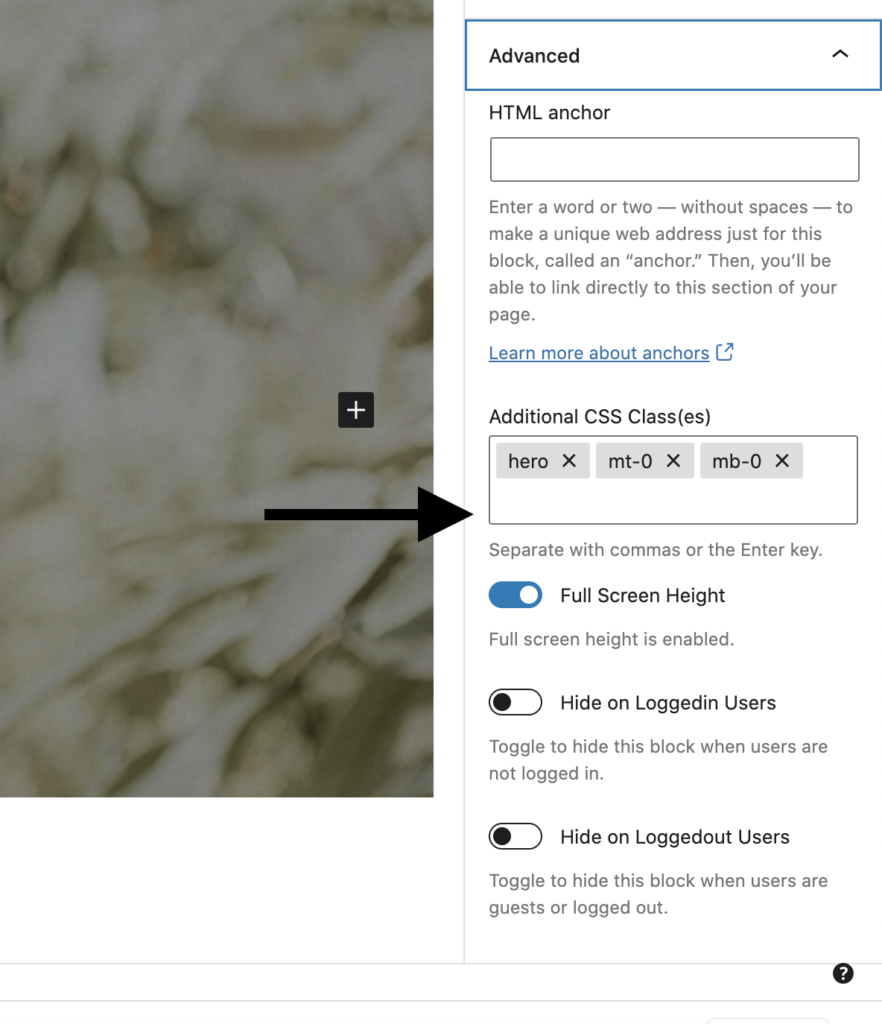
These CSS snippets tell your website how to behave:
- hero: tells the site your image block is a full-screen image
- mt-0: sets the “margin-top” to “zero” (gets rid of the header menu)
- mb-0: sets the “margin-bottom” to “zero” (gets rid of the footer menu).
Again, this is already configured for you if you use the landing page template – so we’d highly recommend just editing that (and then duplicating it for more pages) rather than starting from scratch, as you’ll be able to avoid all these fiddly bits!
With your landing page configured, it’s time to hook it up to your email marketing provider.
Opt-Ins
When a visitor enters their email address, we need to make sure this data is sent to your email marketing provider and stored in their database (so you can send them emails). We call this an “opt in”.
Important Note: if your mailing list provider has a WordPress plugin, embeddable forms / buttons, or built-in landing pages, you can use those if you prefer. Otherwise, follow these steps to connect up your website signup form (some copying and pasting required).
Before you can configure your opt-in setting, you need to sign up for a mail list provider (such as Mailchimp). Once you sign up for one of the popular mail list services, choose your provider from the options below and follow the steps to setup a list and get the appropriate “scary form code” (which is just some HTML code) that will allow you to connect your mail list to your pop-up form.
- Mailchimp
- Mailerlite
- Convertkit
- Aweber
- SendReach
- Infusionsoft
- Ontraport
- Mad Mimi
- AuthorReach
- ActiveCampaign
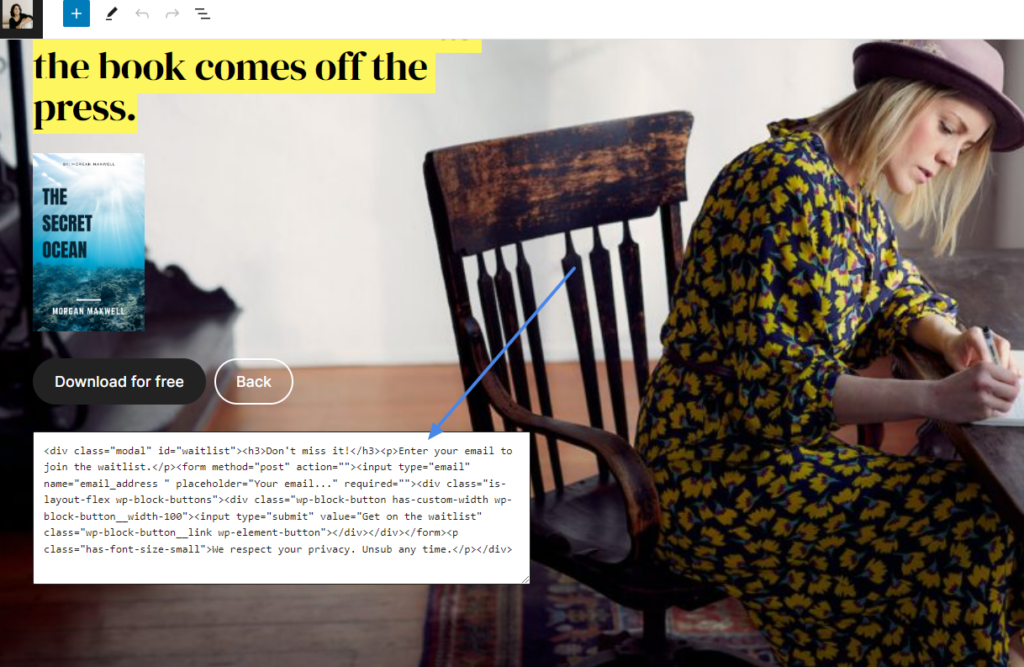
Once you have the required “scary form code” (it’s not that scary, promise) it’s time to drop this into your site and get everything hooked up.
Copy the embedded HTML signup form code from your chosen mailing list provider and paste it inside the textbox provided just below the optin CTA button and save your changes.
After adding the embedded code, just let us know by emailing our support at support@nrdly.com so we can complete the setup.
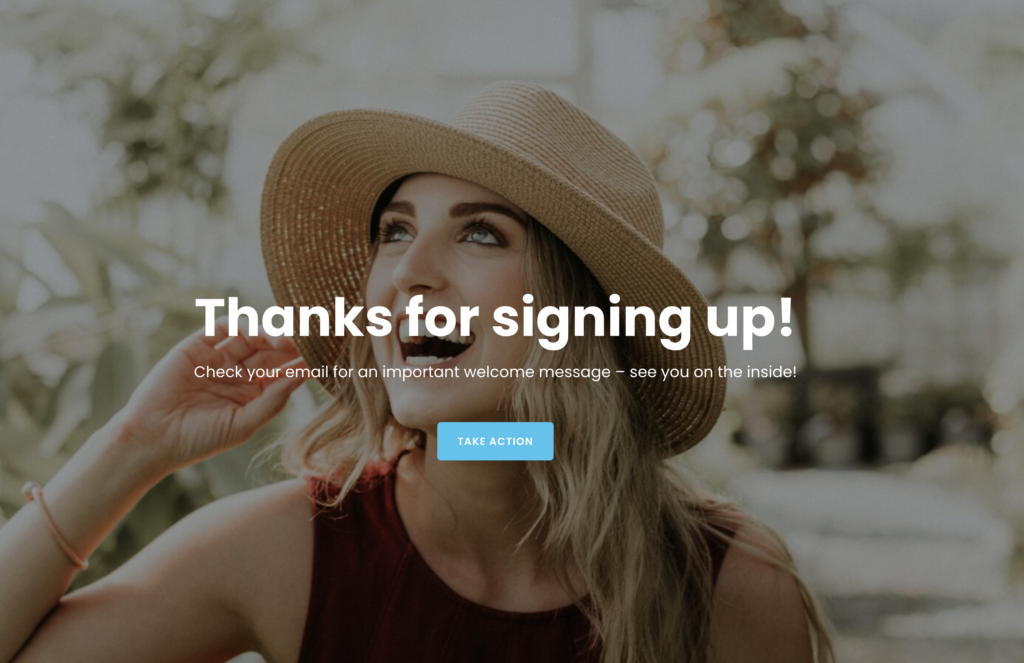
Thank you pages.
When someone signs up for your email list, you’ll want to send them to a thank-you page to confirm their subscription and welcome them to your list.
Most email marketing providers include a default thank-you page as standard, but if you’d prefer to use a Nrdly page (and we’re guessing you will) here’s what to do:
- Create a new page – enter a headline and some welcome text. We’d suggest using the Landing Page template to keep things neat and tidy.
- Copy the URL – take the URL for your shiny new thank-you page and paste this into your email marketing provider, in the section they use to configure thank-you pages. If you’re not sure how to find this, check your email marketing provider’s help docs (it’s usually in the same place you create the signup form).
And you’re all done!