One of the first things you’ll want to do before you start adding content is to customize some global settings (changes that affect your entire site).
In this session, we’ll look at how to update your site name, pick your default colors, organize your menus, set your fonts, and add a custom logo. There’s a fair amount of content in this lesson, but don’t worry – none of it’s difficult (and in many cases, you might just want to leave everything set to default anyway).
But if you do want to make some changes, here’s how this session breaks down – just click to skip to the section you’re most interested in:
Site Name
Colors
Menus
Fonts
Logos
Site Name
We’ll set this for you when we install your site based on the information you’ve given us, but you might want to change it to something else. This is important, as your site name will also be your logo (unless you upload a custom one) and will be the title people will see when your site is shared on social media.
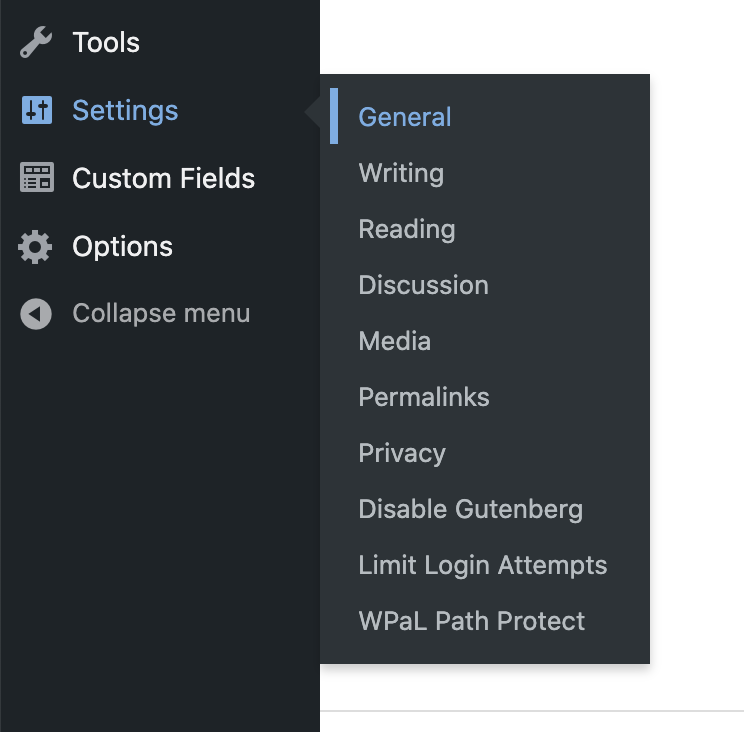
There are a couple of ways of doing this, but to make sure you don’t miss anything, the best way is to head to settings -> general in the left-hand menu of your main dashboard.
Here, simply update your “Site Name” and “Tagline” to whatever you’d like (the tagline might not show up on your site, but will show up in preview windows when your site is shared on social media).
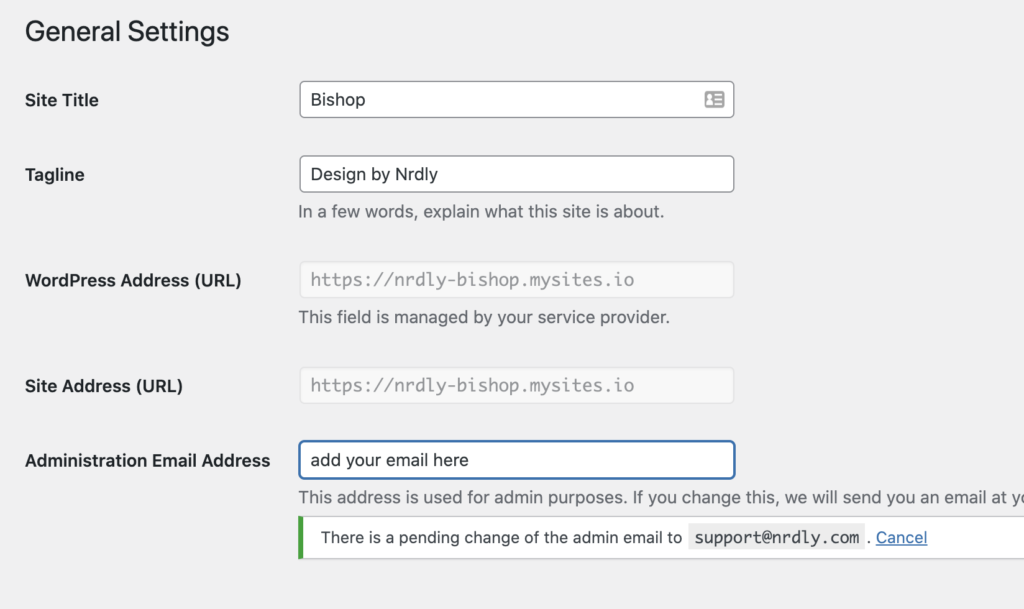
Important: you’ll also want to update the “Administration Email Address” to make sure you receive notifications about your site. Double check your own email is in this box, or you won’t get notified about important things.
There are a few other options on this page (like default date formats, etc) which you can leave alone or tweak as you wish.
With that important step out of the way, it’s time to go make some tweaks!
Colors
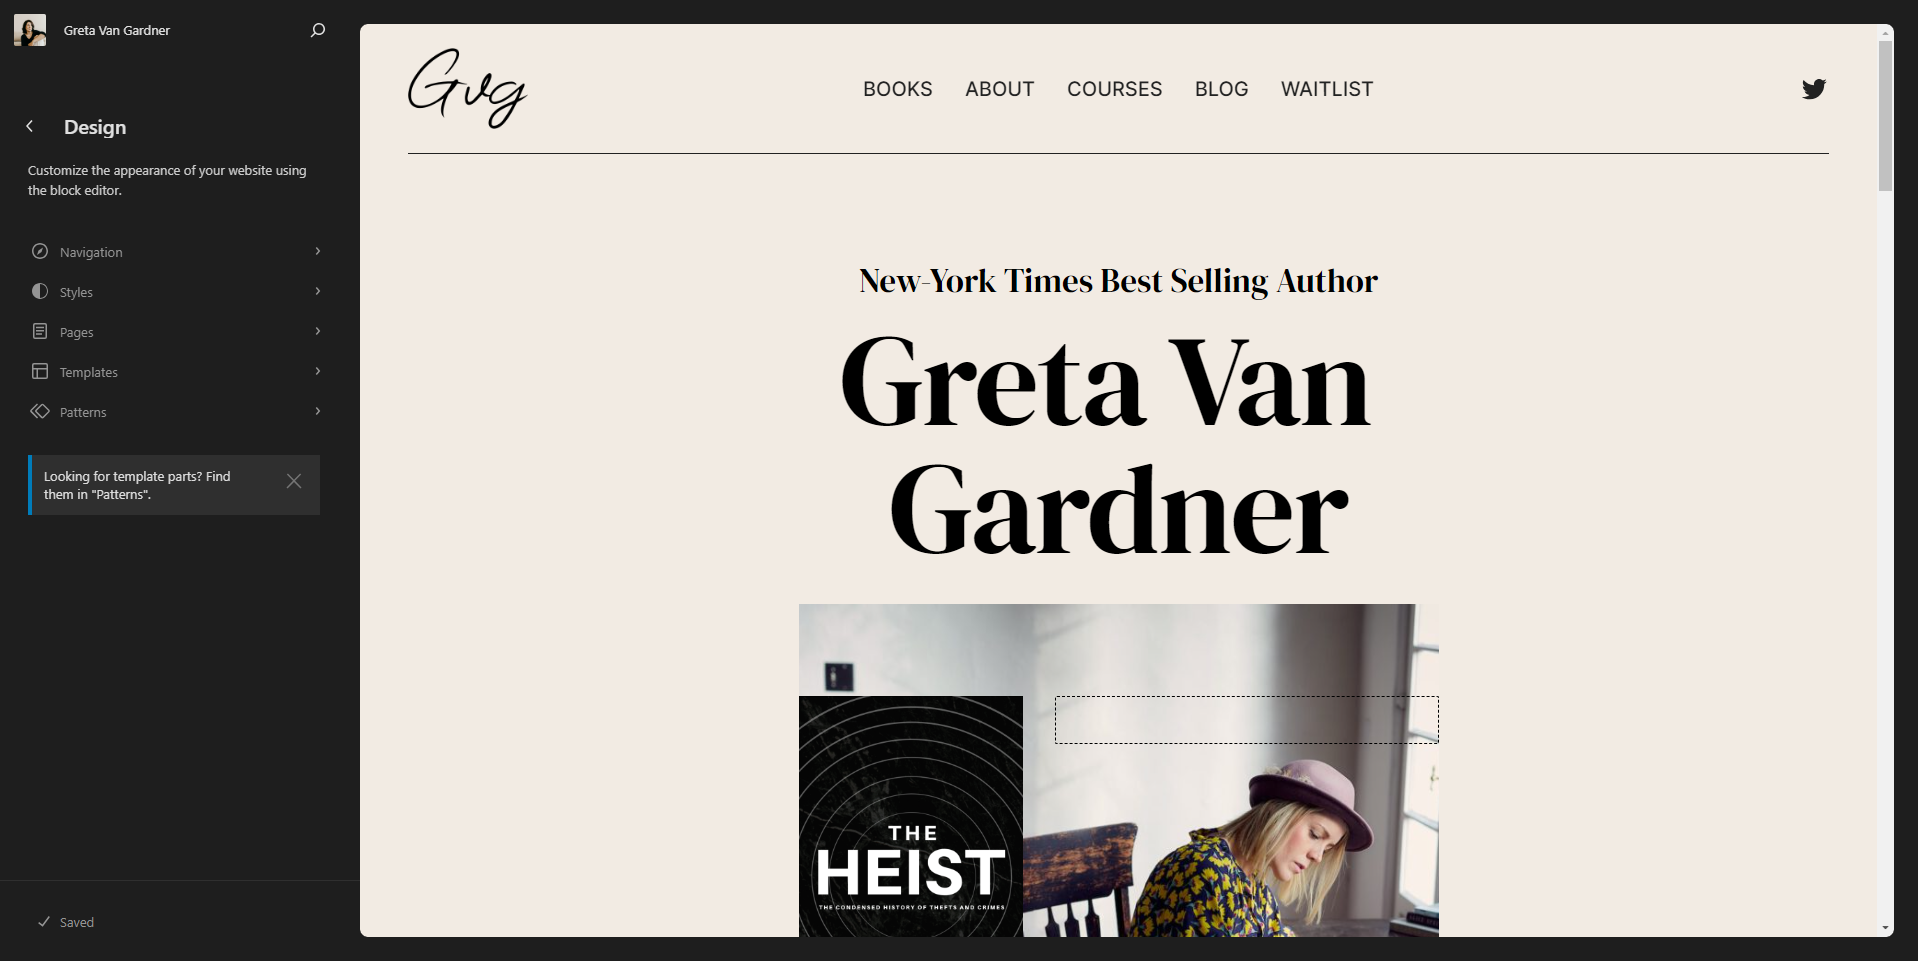
First, we need to access the “Edit Site” menu to make global change to our site (ie, settings that affect your whole site).
You can access this menu -> by clicking “Edit Site” in the admin header bar if you’re browsing your site.

You’ll see a menu appear on the left-hand side of the screen (where you’ll make changes).

To start with, we’re going to look at the “Styles” settings then click on the Pen Button, and then click on the Colors Settings on the right-hand column to edit the color styles. These set the default colors for your site body text, header text, background, and button color. Simply choose the colors you’d like and hit “publish” when you’re done (or leave them set to default).
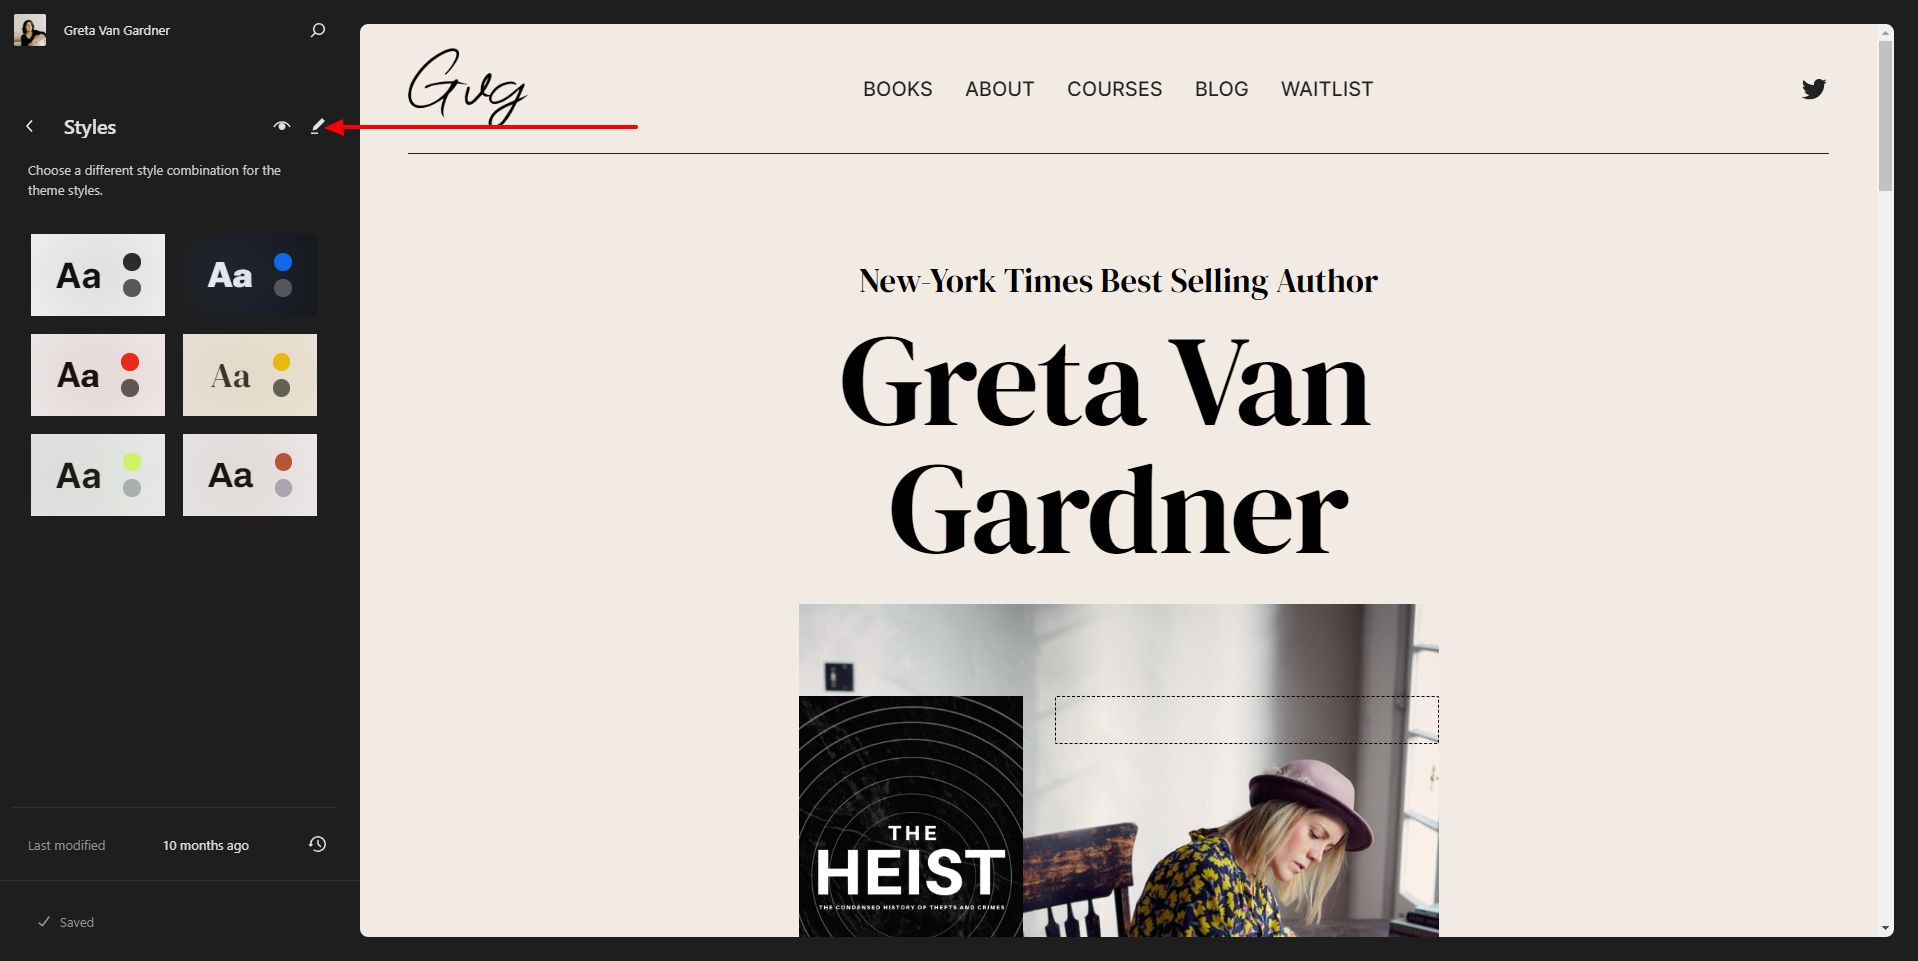

Important: make sure you choose colors that are easy to read. And remember, any choices you make here will affect your ENTIRE site.
So if you only want to change the color of a particular section of text or a particular button, you can change this by editing the page in question, rather than for the entire site.
Menus
Your site will generally have two menus – one at the top of the screen (the Header Menu) and one at the bottom (the Footer Menu).
First, we need to access the “Edit Site” menu to update the default assigned template menu for your chosen template.
You can access this menu -> by clicking “Edit Site” in the admin header bar if you’re browsing your site.
After clicking on the “Edit Site” menu in the admin header bar, you will need to click on “Navigation” settings in the left-hand panel and click on the Pen button to update the default header navigation menu items.
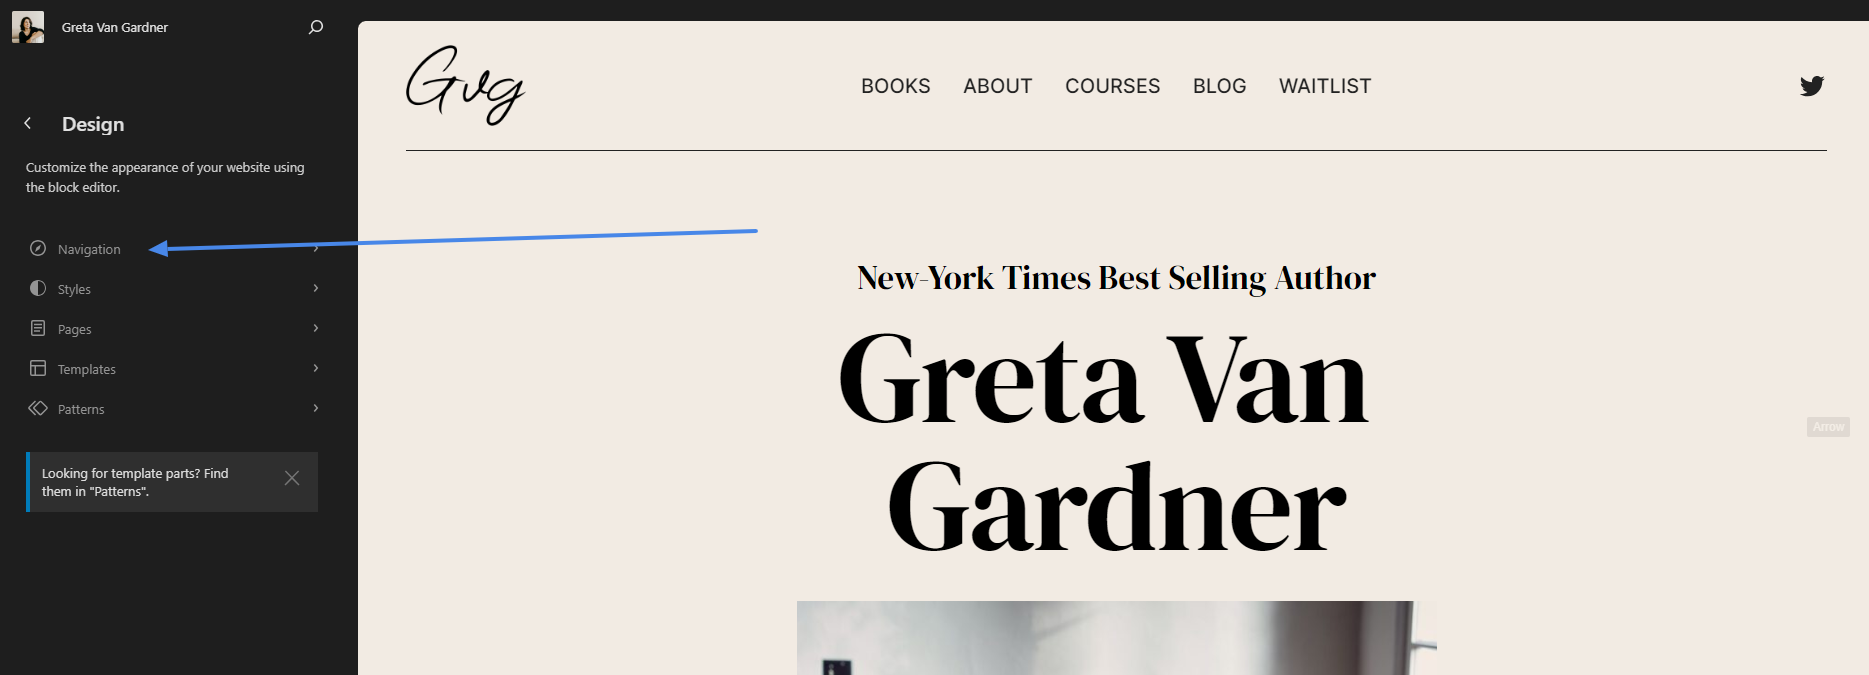
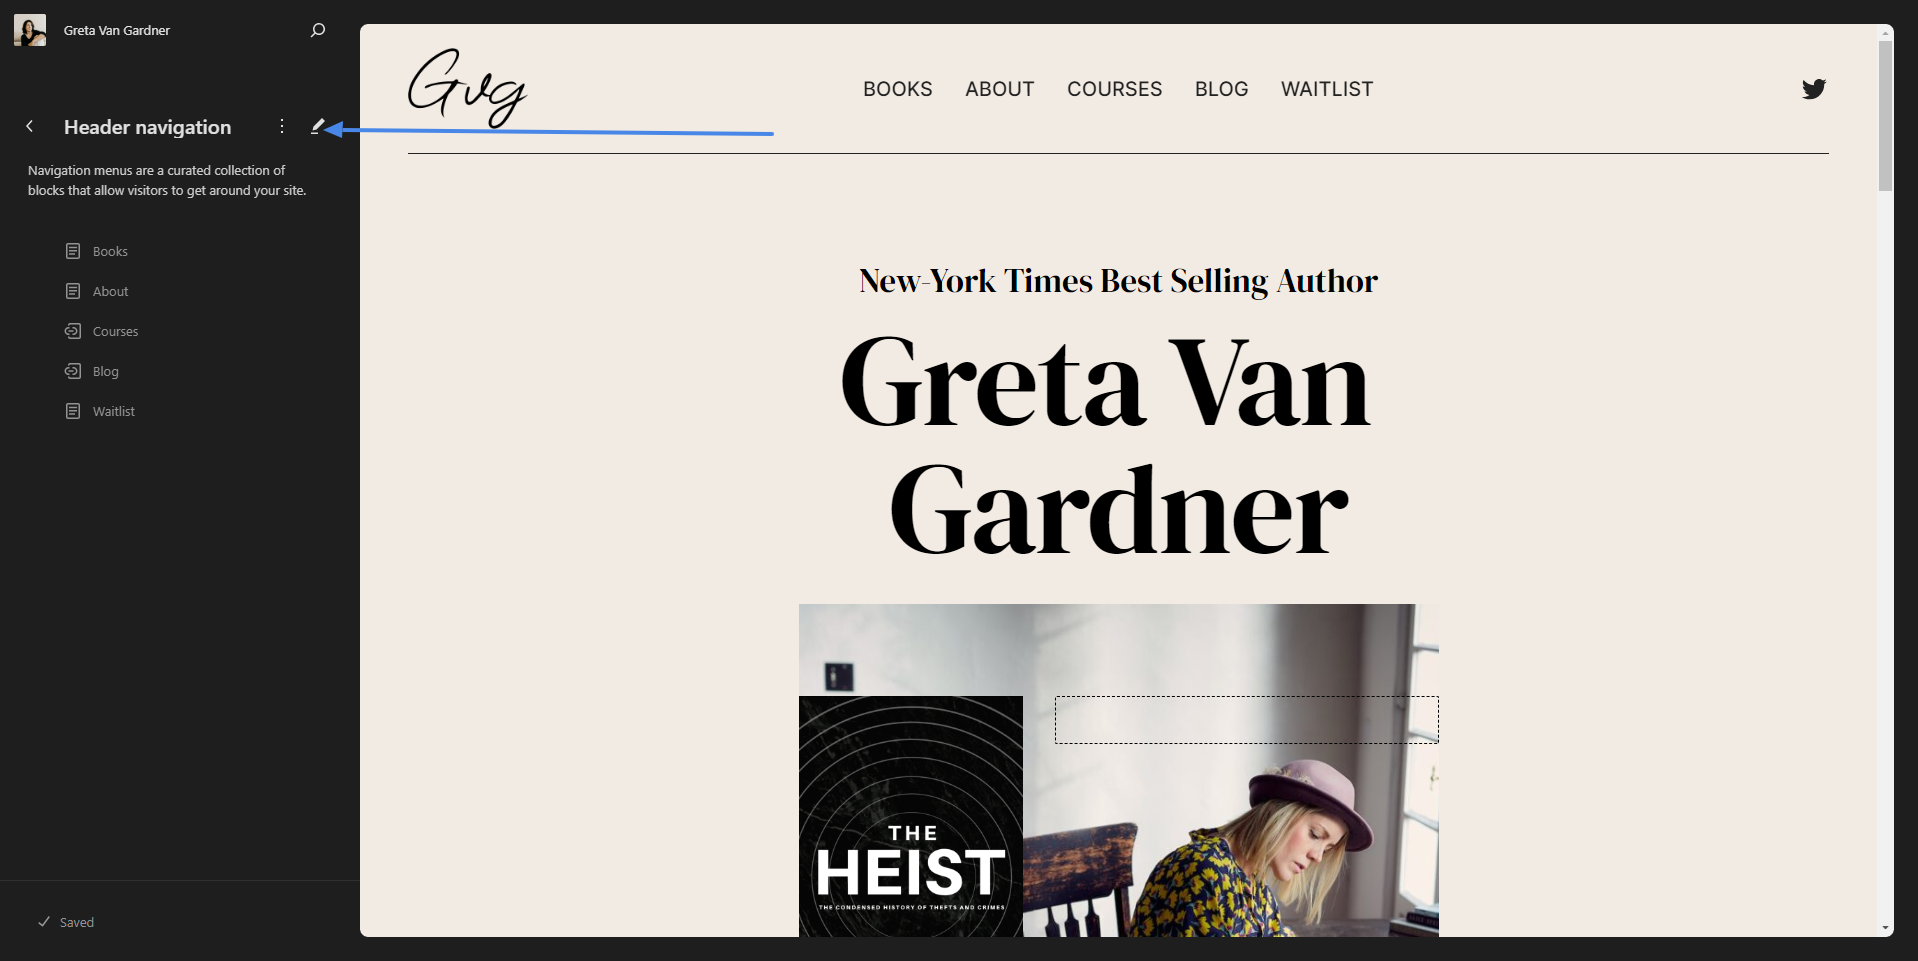
After adding your desired navigation menu items, simply hit the “publish” button to save your changes.
Fonts
One of the biggest changes you can make to a site’s aesthetic is by experimenting with different fonts.
First, we need to access the “Edit Site” menu to make global changes to our site (ie, settings that affect your whole site).
You can access this menu -> by clicking “Edit Site” in the admin header bar if you’re browsing your site.
You’ll see a menu appear on the left-hand side of the screen (where you’ll make changes).
To start with, we’re going to look at the “Styles” settings then click on the Pen Button, and then click on the “Typography” Settings on the right-hand column to edit the Fonts. These set the default fonts for your site body text, header text, background, and button color. Simply choose the fonts you’d like and hit “publish” when you’re done (or leave them set to default).
Logos
Our site templates will auto-generate a text-based logo for you, which is based on your site name.
First, we need to access the “Edit Site” menu to update the default assigned template menu for your chosen template.
You can access this menu -> by clicking “Edit Site” in the admin header bar if you’re browsing your site.
After clicking on the “Edit Site” menu in the admin header bar, you will need to click on the logo section to update the default demo logo image.
Simply click on the default logo image and then click on the “Edit template” button from the prompt to update the logo image with your own.
When you’re happy, click “Publish“.
And you’re good to go!
With our site-wide changes made, it’s time to move on to adding some pages and editing the templates we’ve installed for you. Head back to the Guide Menu when you’re ready to check those out.